Why Are My Peloton Shoes Moving Around In The Pedals?
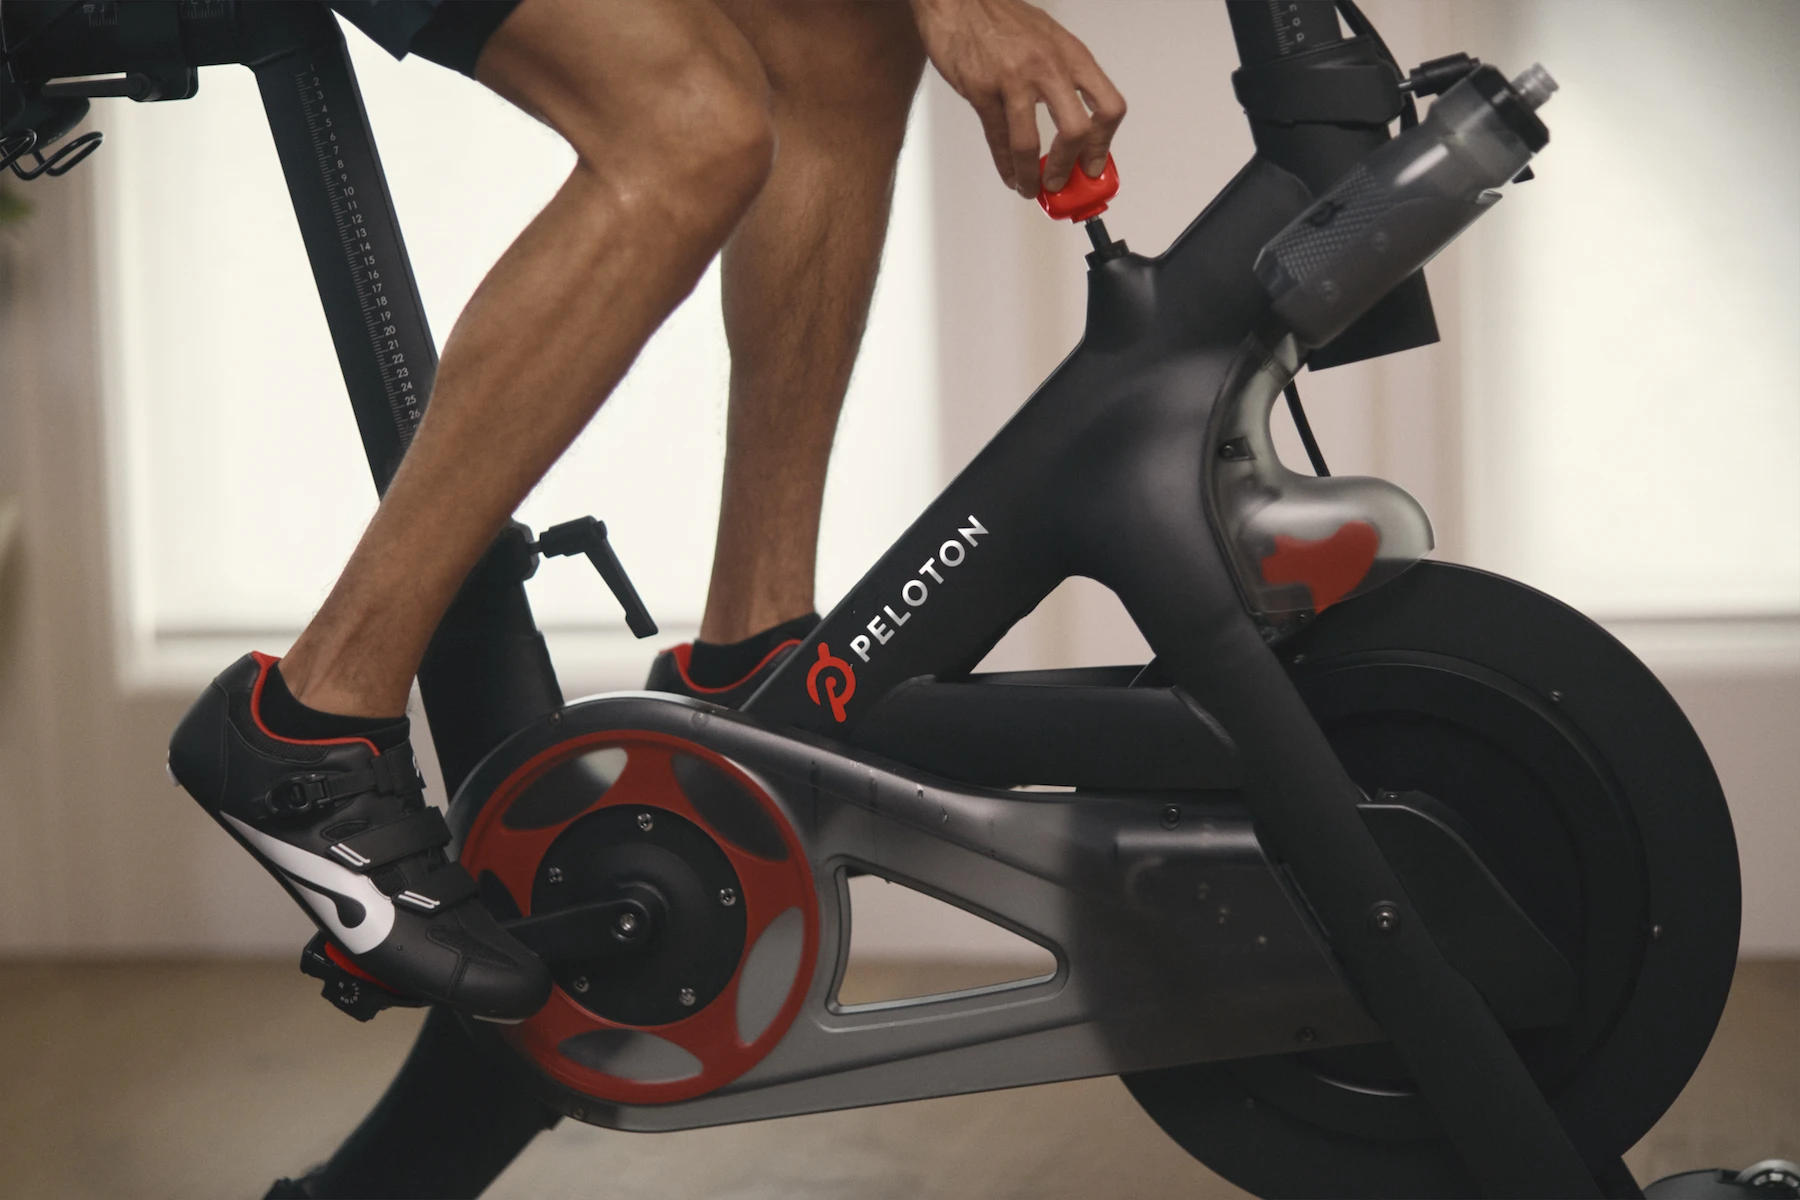
When you’re prepping for a workout, the last thing you want is to struggle with your gear—not just for convenience’s sake, but for your safety, too. On a Peloton bike, the pedals, shoes, and cleats need to work as a team so you stay stable and injury‑free. If your Peloton shoes are slipping, sliding, or rattling within the pedals, it’s a red flag. Let’s explore why that happens, break down how to fix it, and walk you through what to do when basic adjustments don’t help. By the end, you’ll be ready to ride tight, smooth, and confident.
What Causes Peloton Shoes to Feel Loose?
Your Peloton shoes shifting around in the pedals typically comes down to one of three areas:
- Pedal tension hasn’t been adjusted – the squeezing mechanism that holds the cleat may be too relaxed.
- Cleats aren’t attached or aligned properly – if they’re off even a bit, your shoes won’t sit right in the pedal.
- Wear and tear on the shoes, cleats, or pedals – hardware naturally degrades over time, affecting fit and safety.
We’ll start with the easiest fix—pedal tension—then work through cleats, and finish by covering replacements and regular maintenance.
1. Tighten the Pedal Tension for a Secure Grip
Peloton strongly recommends adjusting your pedal tension from time to time to ensure you stay locked in, especially as the bike ages or you change shoes. It’s a quick fix that solves most slipping issues:
Step‑by‑Step: How to Adjust Pedal Tension
- Locate the tension screw
- On the underside of each pedal, you’ll find a small screw with a plus sign (+) on the right and a minus sign (–) on the left.
- Lock the flywheel + crank
- Turn the resistance knob fully to the right. This locks the flywheel and crank in place so you can adjust without anything moving around.
- Insert the 3 mm Allen key (included)
- Turn the tension screw in ¼‑turn increments toward the plus (+) side. After each quarter‑turn, try clipping in and see how snug it feels.
- Dial it in
- Keep adjusting until the fit is firm but not painful. Enjoy a clip‑in that feels solid but allows you to release easily.
- Over‑tightened?
- If it feels like removing your foot requires too much force, loosen it with small ¼‑turns toward the minus (–) until it feels right.
- Don’t forget pedal two
- Repeat the same steps on the other side so both pedals feel identical.
2. When Tension Fixes Don’t Cut It: Inspect Your Cleats
If tension adjustments don’t do the trick, it’s time to take a closer look at the cleats on your shoes. Even minor misalignments or loose cleat screws can make clipping in inconsistent—and unsafe.
Why Correct Cleat Placement Matters
Proper cleat alignment ensures:
- Secure engagement and release every time you clip in.
- Even pressure across the ball of your foot.
- A riding position that supports your knees and hips properly.
- Avoidance of hotspots, numbness, and discomfort.
Step‑by‑Step: Align & Tighten Cleats on Your Shoes
- Line up the cleat
- Place it over the three screw holes on the shoe’s sole. The cleat must face forward—aligned with the toe.
- Center it properly
- Make sure the center of the cleat sits right under the ball of your foot. Slide it as close to the shoe’s inside arch as the washers allow.
- Straighten it out longitudinally
- Position it along the shoe’s centerline (toe-to-heel). This ensures your foot sits straight, not angled outwards or inwards.
- Tighten the screws
- Using the 4 mm hex key, tighten each screw securely—snug but not so tight that you strip them.
- Test the setup
- Hop on your bike and pedal a few strokes. Your foot should sit naturally and the ball of your foot should align with the pedal axle.
- Check for alignment issues
- Any rubbing, pain, or discomfort can mean the cleat is off. Try small tweaks—maybe rotate it slightly or move it forward/back.
- Replacement time?
- If adjusting doesn’t help—or if the cleats feel worn out or stripped—it’s better to replace them. Keep at least one spare set on hand if you ride often.
3. Hardware Wear: When to Replace Shoes, Cleats, or Pedals
Your Peloton setup isn’t immune to wear. Here’s what to watch for and when replacements are needed:
Worn Cleats
- Signs of wear: rounded edges or difficulty clipping in/out.
- Loose tension screws might slip because they can’t grip properly.
- Cleats usually last a few hundred hours of riding—more with rough use.
Worn Pedals
- The tension mechanism can wear down over time.
- Loose screws, wobbly connection, or inconsistent tension are signs your pedals are aging.
- Peloton suggests replacing the pedals once a year to ensure continued safety and performance.
Worn Shoes
- Outsoles that are slippery or compressed reduce clip‑in performance.
- Degraded sole stiffness can make pedaling feel sloppy or unstable.
- Inspect your shoes regularly. If they’re losing shape, it might be time for fresh pairs.
4. Ongoing Maintenance: Stay Tight, Ride Safely
Here’s a quick maintenance checklist to avoid unexpected gear issues:
| Task | Frequency | Why It Matters |
|---|---|---|
| Check pedal tension | Every 2–4 weeks (or after new cleats) | Keeps clip‑in consistent |
| Inspect cleat alignment | Monthly | Prevents pains and poor foot positioning |
| Tighten cleat screws | Monthly | Loose screws = loose fit |
| Replace cleats | Every 6–12 months (depending on usage) | Worn cleats cause slipping |
| Replace pedals | Annually | Keeps the tension mechanism effective |
| Check shoe wear | Monthly | Worn shoes degrade stability |
5. Special Considerations: Shoes, Cleat Systems & Personal Nuance
Different Peloton Shoe Types
Peloton uses SPD-style 2-bolt cleats. If you use aftermarket or MTB road shoes with the same cleat system, similar principles still apply. Be just as precise with alignment and tension.
One-Shoe Feels Loose?
Sometimes one pedal holds better due to slight wear differences, misaligned cleats, or even dirt. Make sure both pedals and cleats get identical adjustments. Clean your cleats and pedal tension screws—they can grab grime over time.
Foot Comfort vs. Security
Tight enough is crucial, but don’t over-tighten—there’s no benefit to maximal tension. You want firm engagement with enough room to release quickly and without knee/joint stress.
6. How to Know Your Adjustments Are Working
Watch for these signs in your next few rides:
✅ Consistent Clip-In
You should clip in smoothly on both pedals every time, without the need to wrestle your foot into place.
✅ Secure Connection
Once clipped, your foot should feel stable—not wobbling or shifting side-to-side.
✅ Easy Release
A quick twist of your heel should disengage the shoe crisply.
✅ No Hotspots or Pain
Foot, knee, or hip discomfort can signal misalignment or overly tight positioning.
If all these box-check, congratulations—you’ve nailed it. If not, double-check cleats, tension, or consider hardware replacement.
Quick Troubleshooting Summary
| Issue | Possible Cause | Solution |
|---|---|---|
| Shoes feel loose | Tension too low | Tighten screws ¼‑turn at a time |
| One shoe always slightly loose | Uneven tension or worn pedal | Adjust tension or inspect pedal |
| Clipping in feels unstable | Cleats misaligned or loose | Reposition and tighten cleats |
| Pain in feet/legs | Cleats too far off center | Realign cleats under ball of foot |
| Pedals not tightening | Worn tension screws | Replace pedals (annually) |
| Persistent slipping | Worn cleats | Install new cleats |
Final Take
Keeping your Peloton ride comfortable, safe, and efficient is all about gear synergy. Pedal tension, cleat alignment, and equipment health all do their part to protect your joints, maximize power, and help you enjoy every session. Regular checks and a few simple tweaks go a long way to prevent slipping or unpleasant surprises mid-ride.
So the next time your shoes feel loose, don’t sweat it—follow the steps above, inspect your gear, and make elastic adjustments. That way, you’ll ride strong, smooth, and secure—every time. Let me know if you want a printable guide, diagrams, or a PDF version—happy to help!
Related Posts
Smart Living Room: 11 Devices You Need to Optimize Your Living Space

Smart Home: 14 Backyard and Patio Ideas & Tips